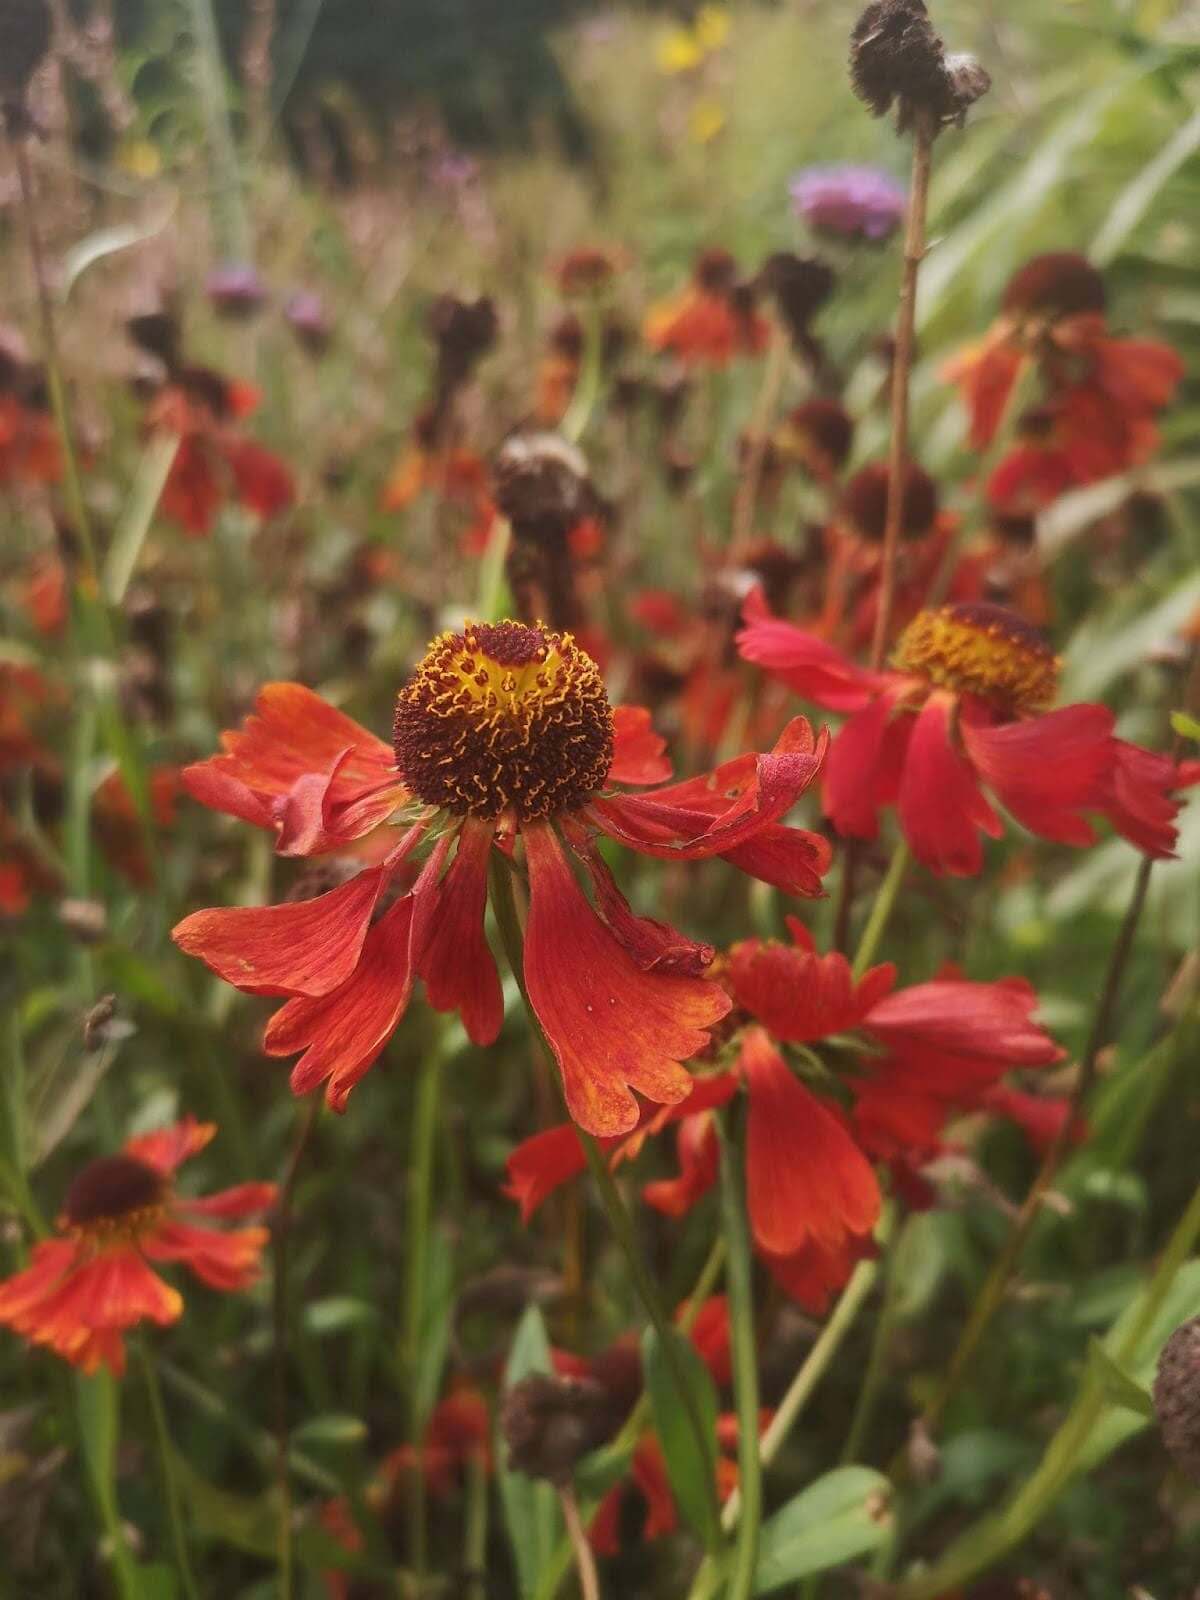
Soil Improvement
Let us help you realise your gardens potential
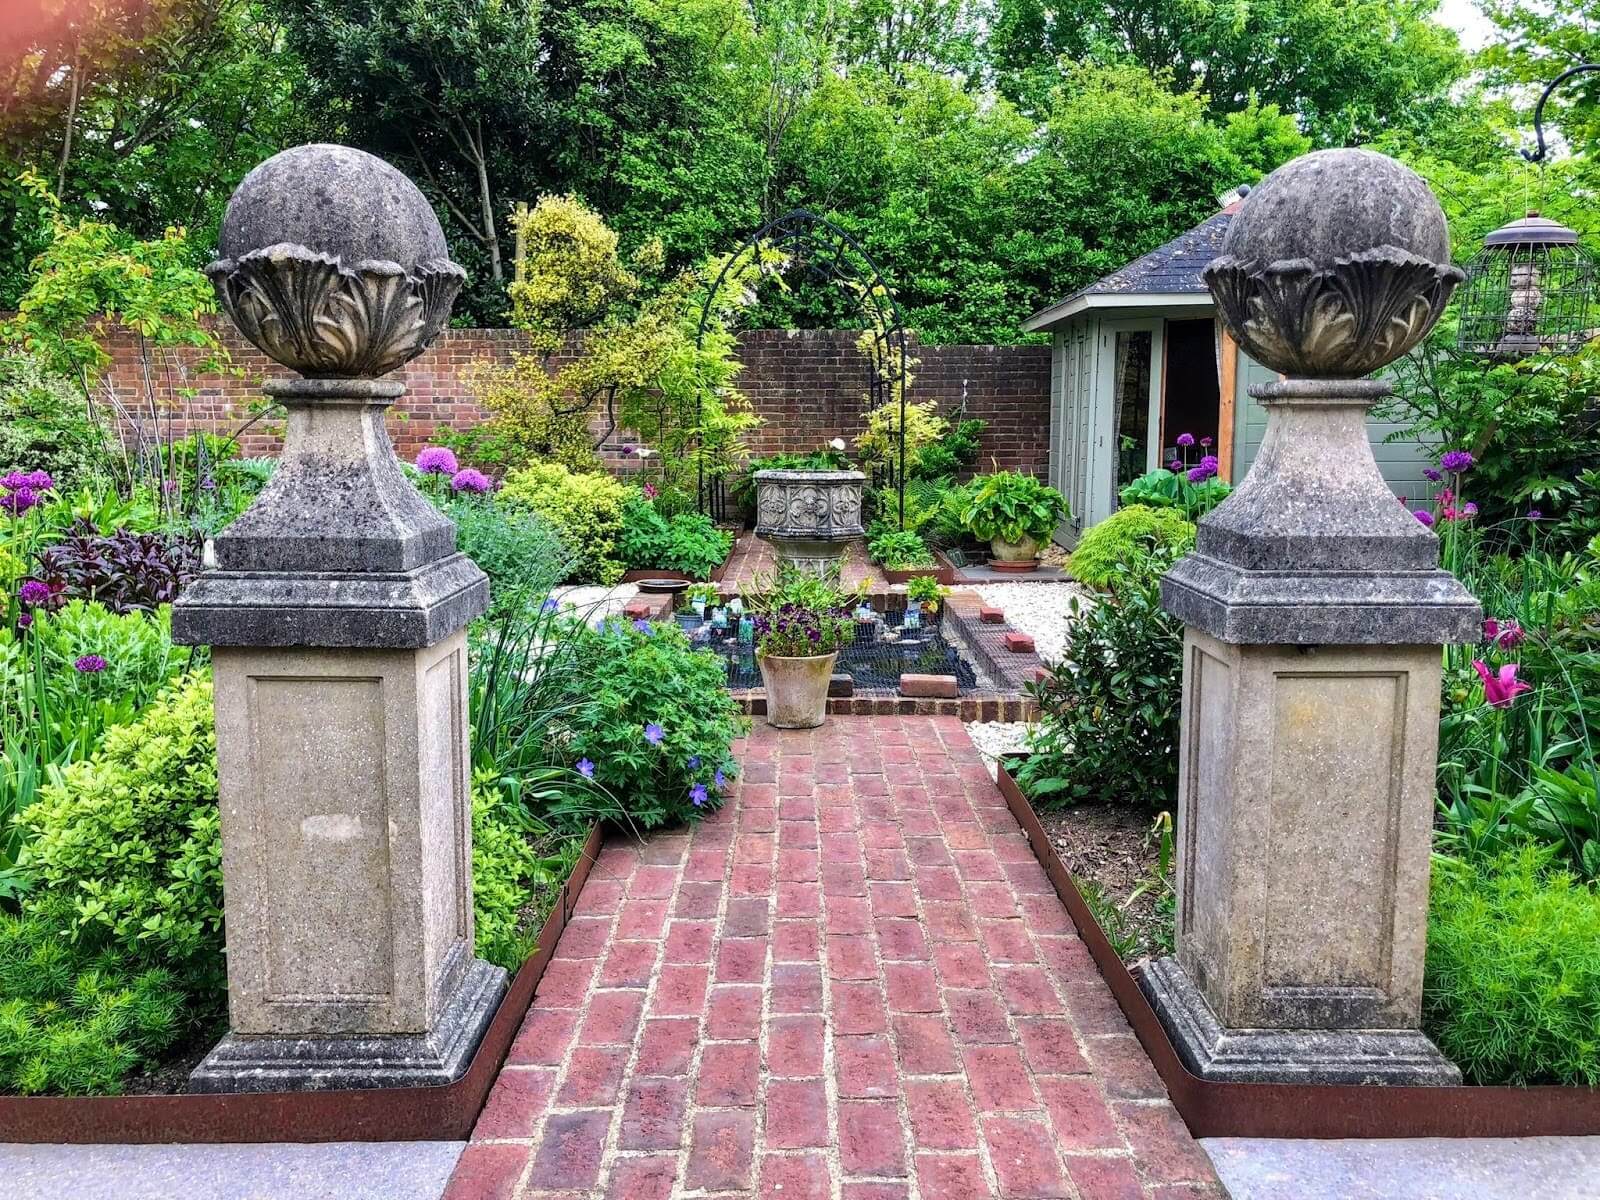
Soil Improvement in Brighton and the surrounding areas
Understanding Soil
What is good soil structure?
Good soil is one that:
Is fertile
Drains well
Is moisture retentive
In the Sussex region, the soil varies from thin chalk, especially along the coast, to thick clay which can be found to the North of the Downs.
Contact us for a FREE consultation
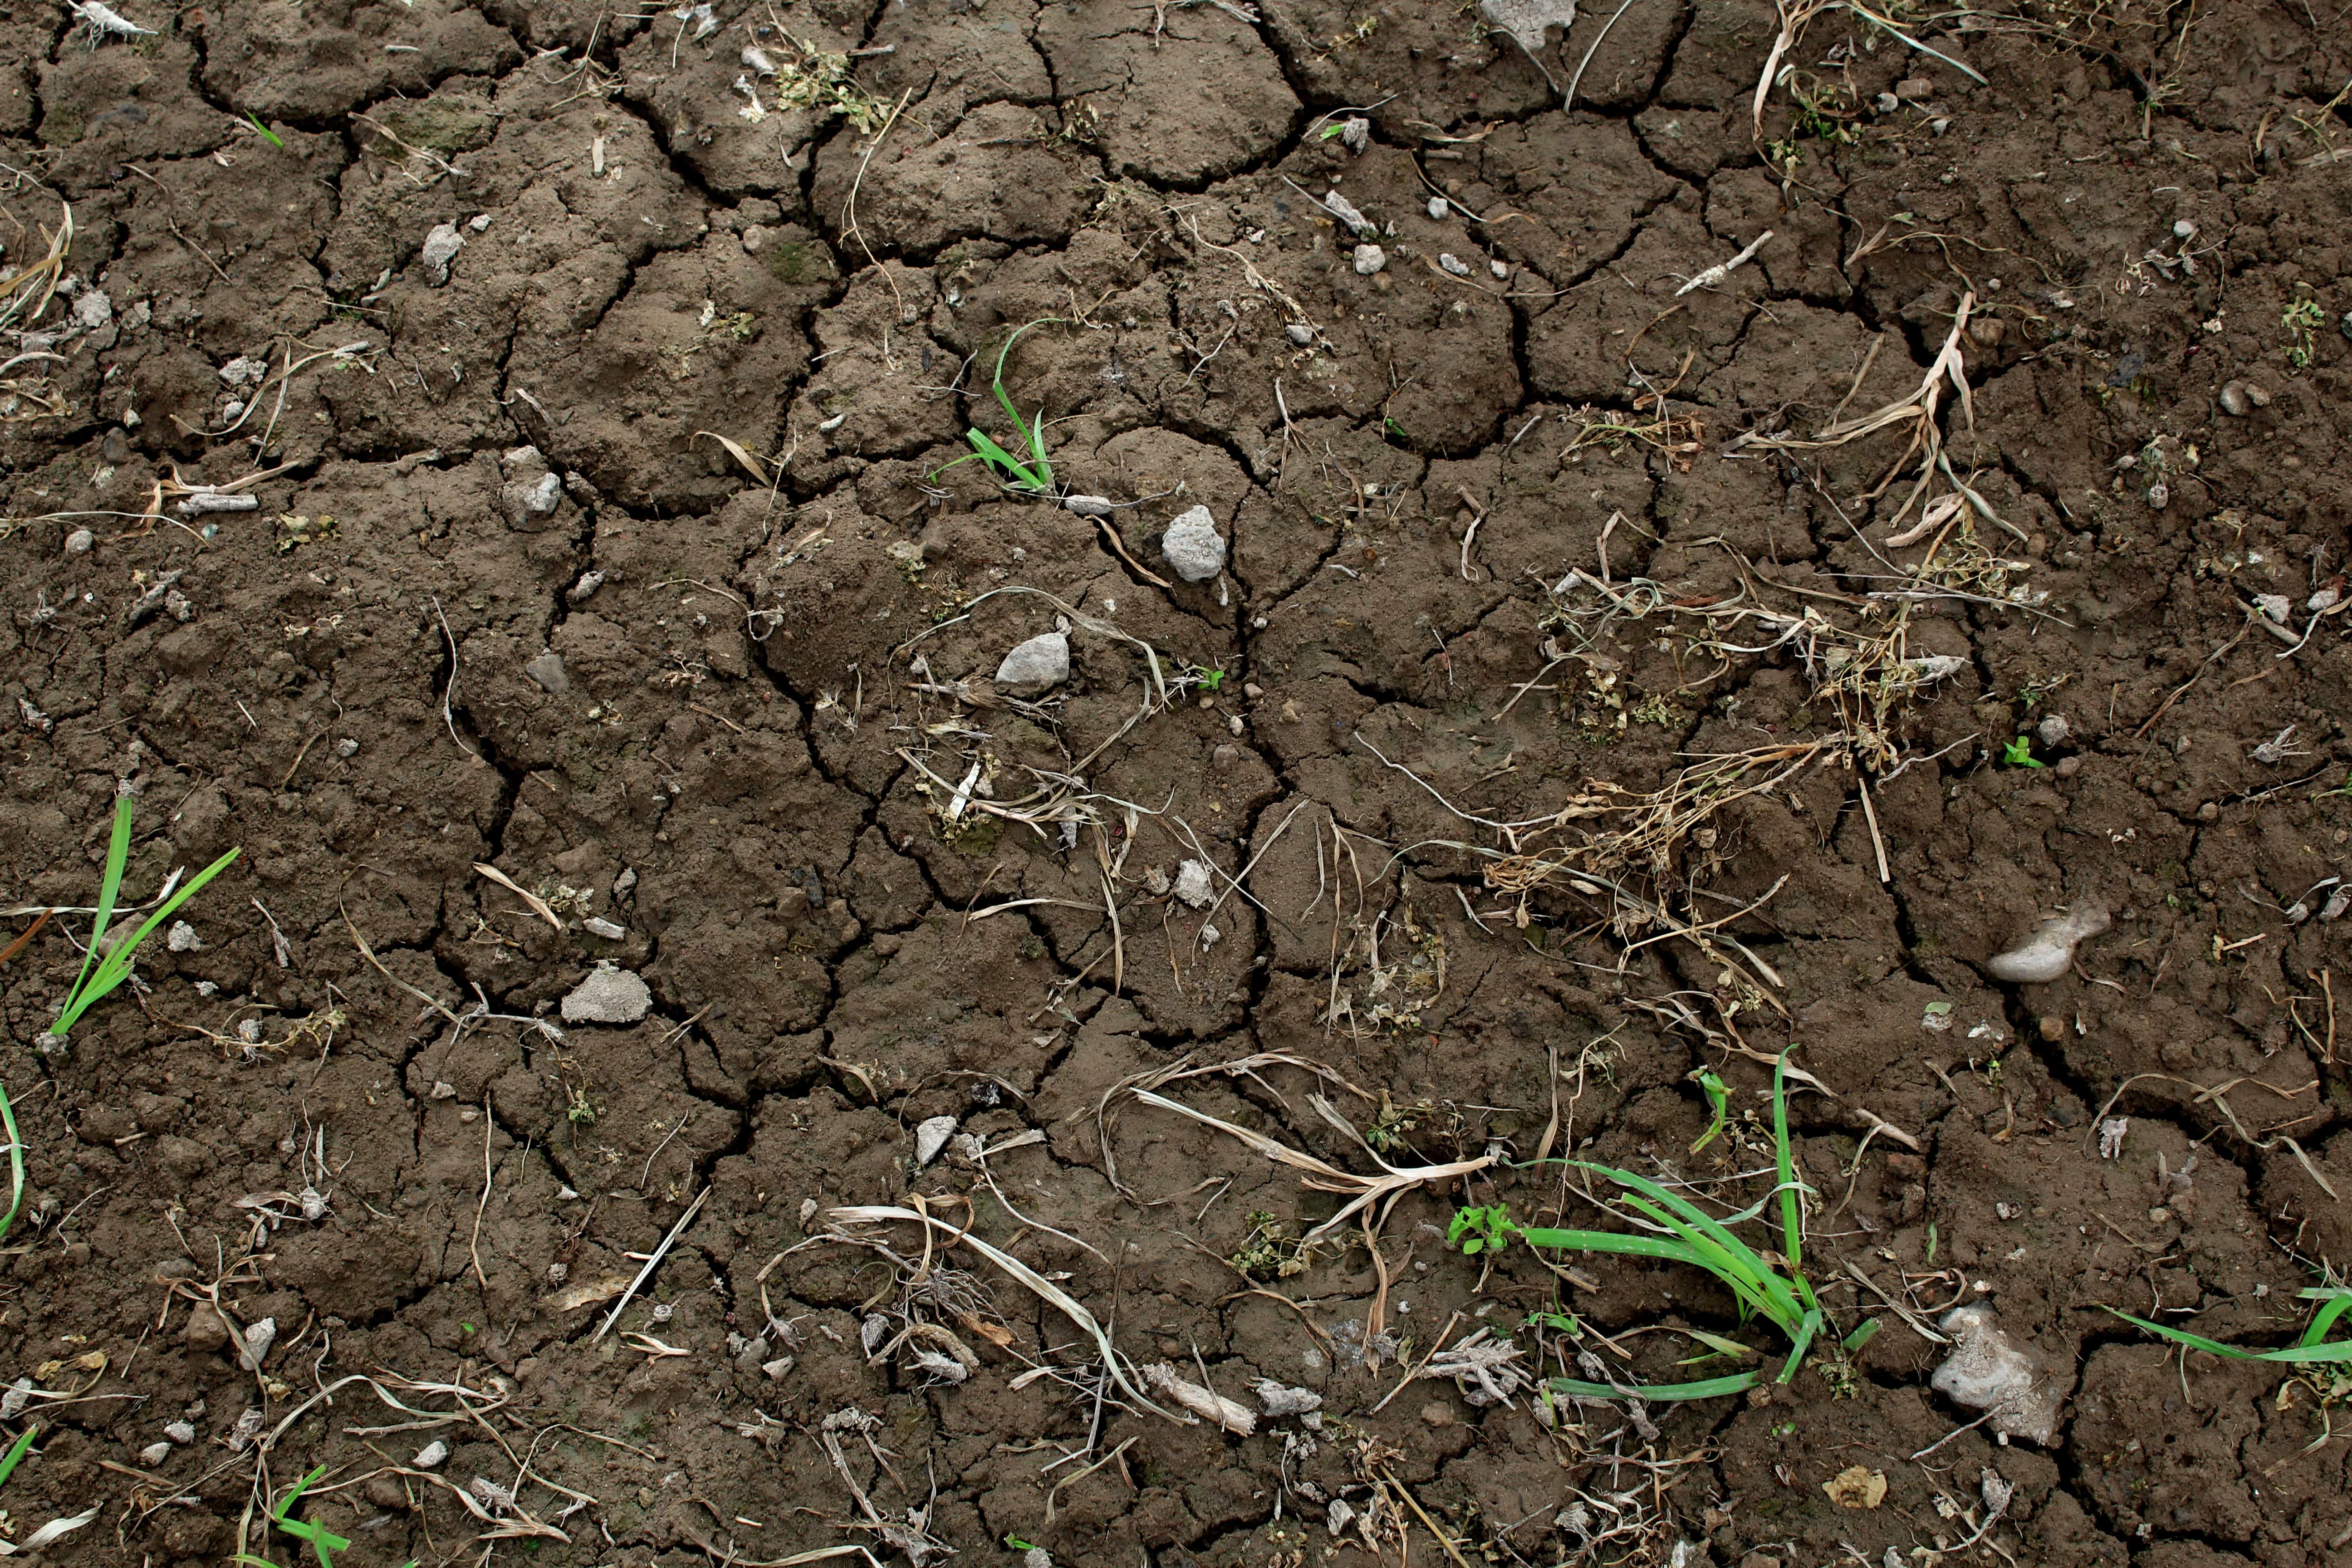
Working with Clay Soil
What to do with clay soil?
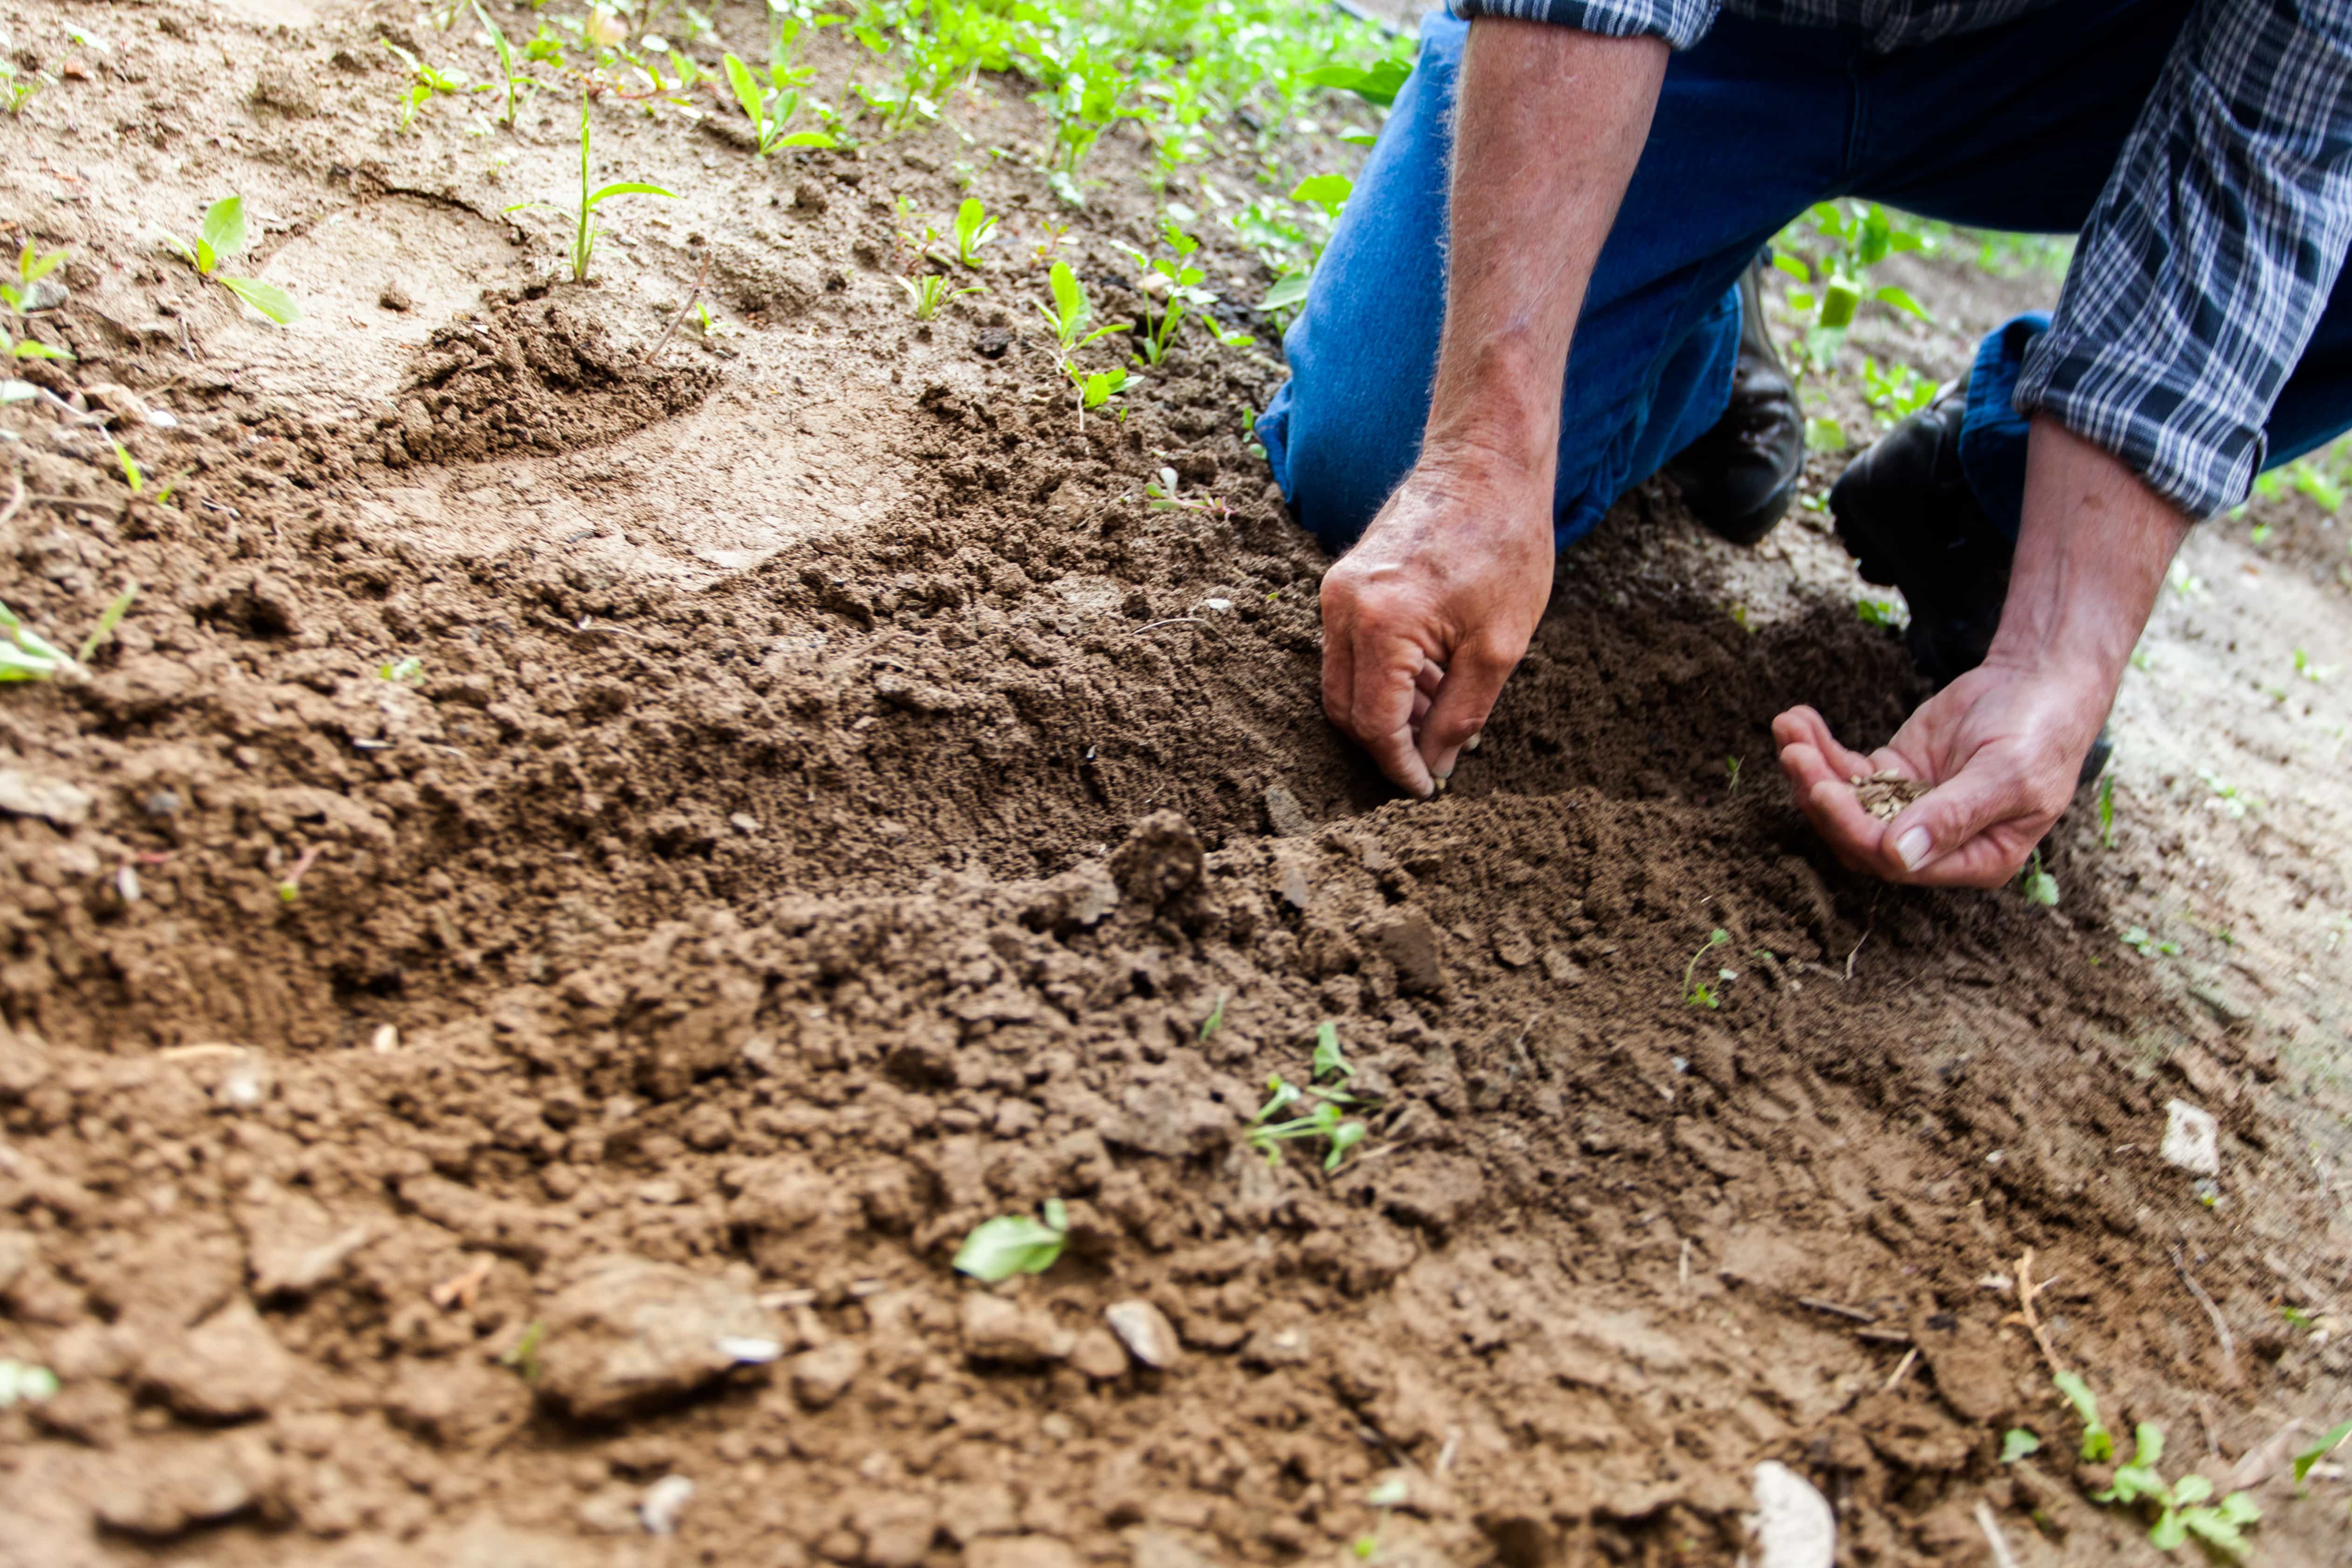
You should know if you have clay soil; it is wet and sticky in winter, then dries to rock in the summer months. Clay is hard to work with, it does hold lots of nutrients though in its tightly packed particles. So all you have to do is unlock them……easier said than done!
To unlock a clay soil’s potential, I recommend spreading the area you want to be planted with horticultural grit to a depth of 4-6cm. This has to be dug in to the depth of your spade. Then dig in generous amounts of organic matter. I use compost recycled from the council or specialised suppliers. It is loose in structure and low in nutrients making it ideal for breaking up the clay. Every year at spring time I recommend mulching your borders with more organic matter. The more organic material that is added to the soil, the better it will be!
In a private estate in Keymer, East Sussex it was the Client’s wish to have sweeping naturalistic borders. Being on clay, I used 6 tonnes of grit and 40cu/m of compost to produce a fantastic open soil! Tough work but well worth it.
Working with Chalky Soil
What to do with chalky soil?
Soil Guide
Other Soil Conditioners and a guide to Home Composting
This is compost that is used by our mushroom growers, although it is getting a bit harder to obtain it as many of our mushrooms are now coming from Eastern Europe. It is usually composted straw with added fertiliser. It is best used as an alternative to animal manure, being high in nutrients and good for breaking down clay soils. It is very alkaline, so not the best for plants that like acid soils.
Love the stuff! Leaf mould is made of leaves, which have been stashed and left for 1-2 years. If you have a large garden with deciduous trees you must have a leaf bin for collecting the autumn fall. Smaller quantities can be rotted in sacks with air holes in them. Store behind your shed for a year and you will create a great soil improver.
Due to its lack of nutrients, it makes up a great seed potting compost as well.
Garden Compost is a mixture of rotted kitchen waste, soft green materials ie grass clippings, shredded prunings and woody brown matter ( eg cardboard and leaves). It is an excellent soil improver for moisture retention and also has a high nutrient content. It is difficult to produce large quantities for the whole of your garden, but it could be just dedicated to the vegetable plot. Often I find compost heaps neglected in the corner of a garden in deep shade, piled up with grass clippings, producing a slimy, smelly heap. Many people have plastic composts and site them on a hard base, not allowing the worms to do the work of turning the compost over.
Compost needs air, moisture and plenty of bacteria, which can be obtained from dead leaves and shredded hedge clippings. Of course you don’t want the compost in full view, but I do find they work best if they have at least 4-6 hours of sunshine a day. If you have a medium to large garden, I would advise a wooden heap with a cubic metre capacity and of course you can have as many as your garden needs.
1. Coarse material – shredded plant stems and hedge clippings
2. Green garden waste – grass clippings and kitchen waste
3. A layer of brown material – leaves and shredded cardboard.
Then repeat this process You can intersperse fresh manure with this which will act as a compost starter. Cover your heap up with a tarpaulin or carpet to let the heap heat up. Once you have got to the top of the heap, leave for six months. You should then have great compost. I often turn my heap if time permits every two months. This helps the heap to heat up again making the compost process faster. With a smaller plastic style bin, I wouldn’t go to the length of layering. Just mix everything up together and keep moist. As long as there is soil at the base, you should get good compost within 3-4 months in summer, a little longer in winter. I look after a garden on the outskirts of Henfield, Sussex and made the compost heaps two years ago. I must be doing something right as we have had great batches of compost which I have used to boost the vegetable garden. Very satisfying! A compost heap
What goes in:
Dead leaves, lawn clipping, uncooked vegetable peeling, tea bags and crushed eggshells, woody stems, shredded paper and cardboard, cotton and wool fabrics.
What to leave out:
Perennial weeds, food scraps, pet waste, thick woody material.
Where would you like to go now?